When you click on links to various merchants on this site and make a purchase, this can result in this site earning a commission. Affiliate programs and affiliations include, but are not limited to, the eBay Partner Network.
Trying to put all my threads in one place, give a list of mods, and other general non sense.
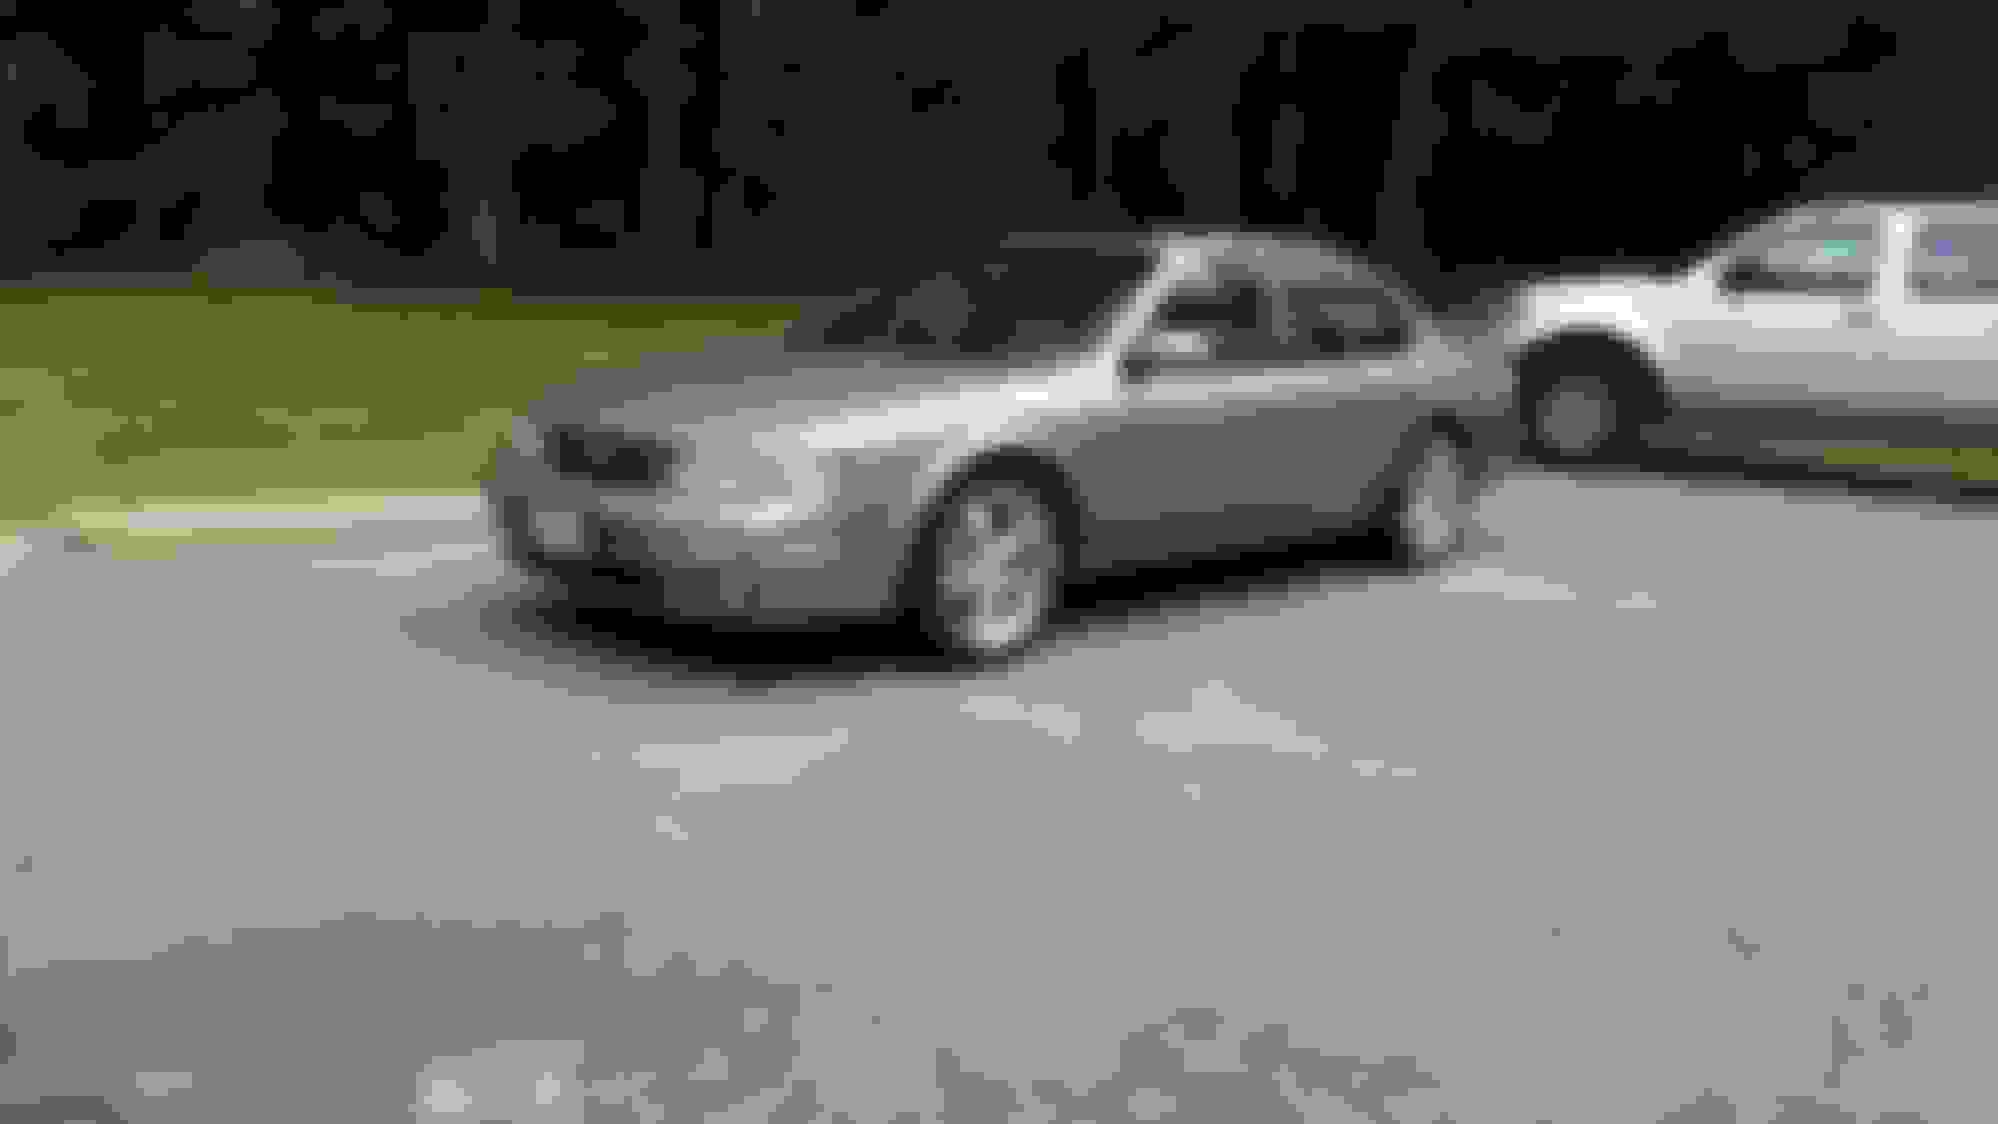
Purchased from the original owner Feb. 2018. 5 speed, security and convenience package. He did a stereo and tint, otherwise stock.
Plans were to do necessary maintenance, install mods off old car, and add some OEM options as well.
Modifications......
Engine:
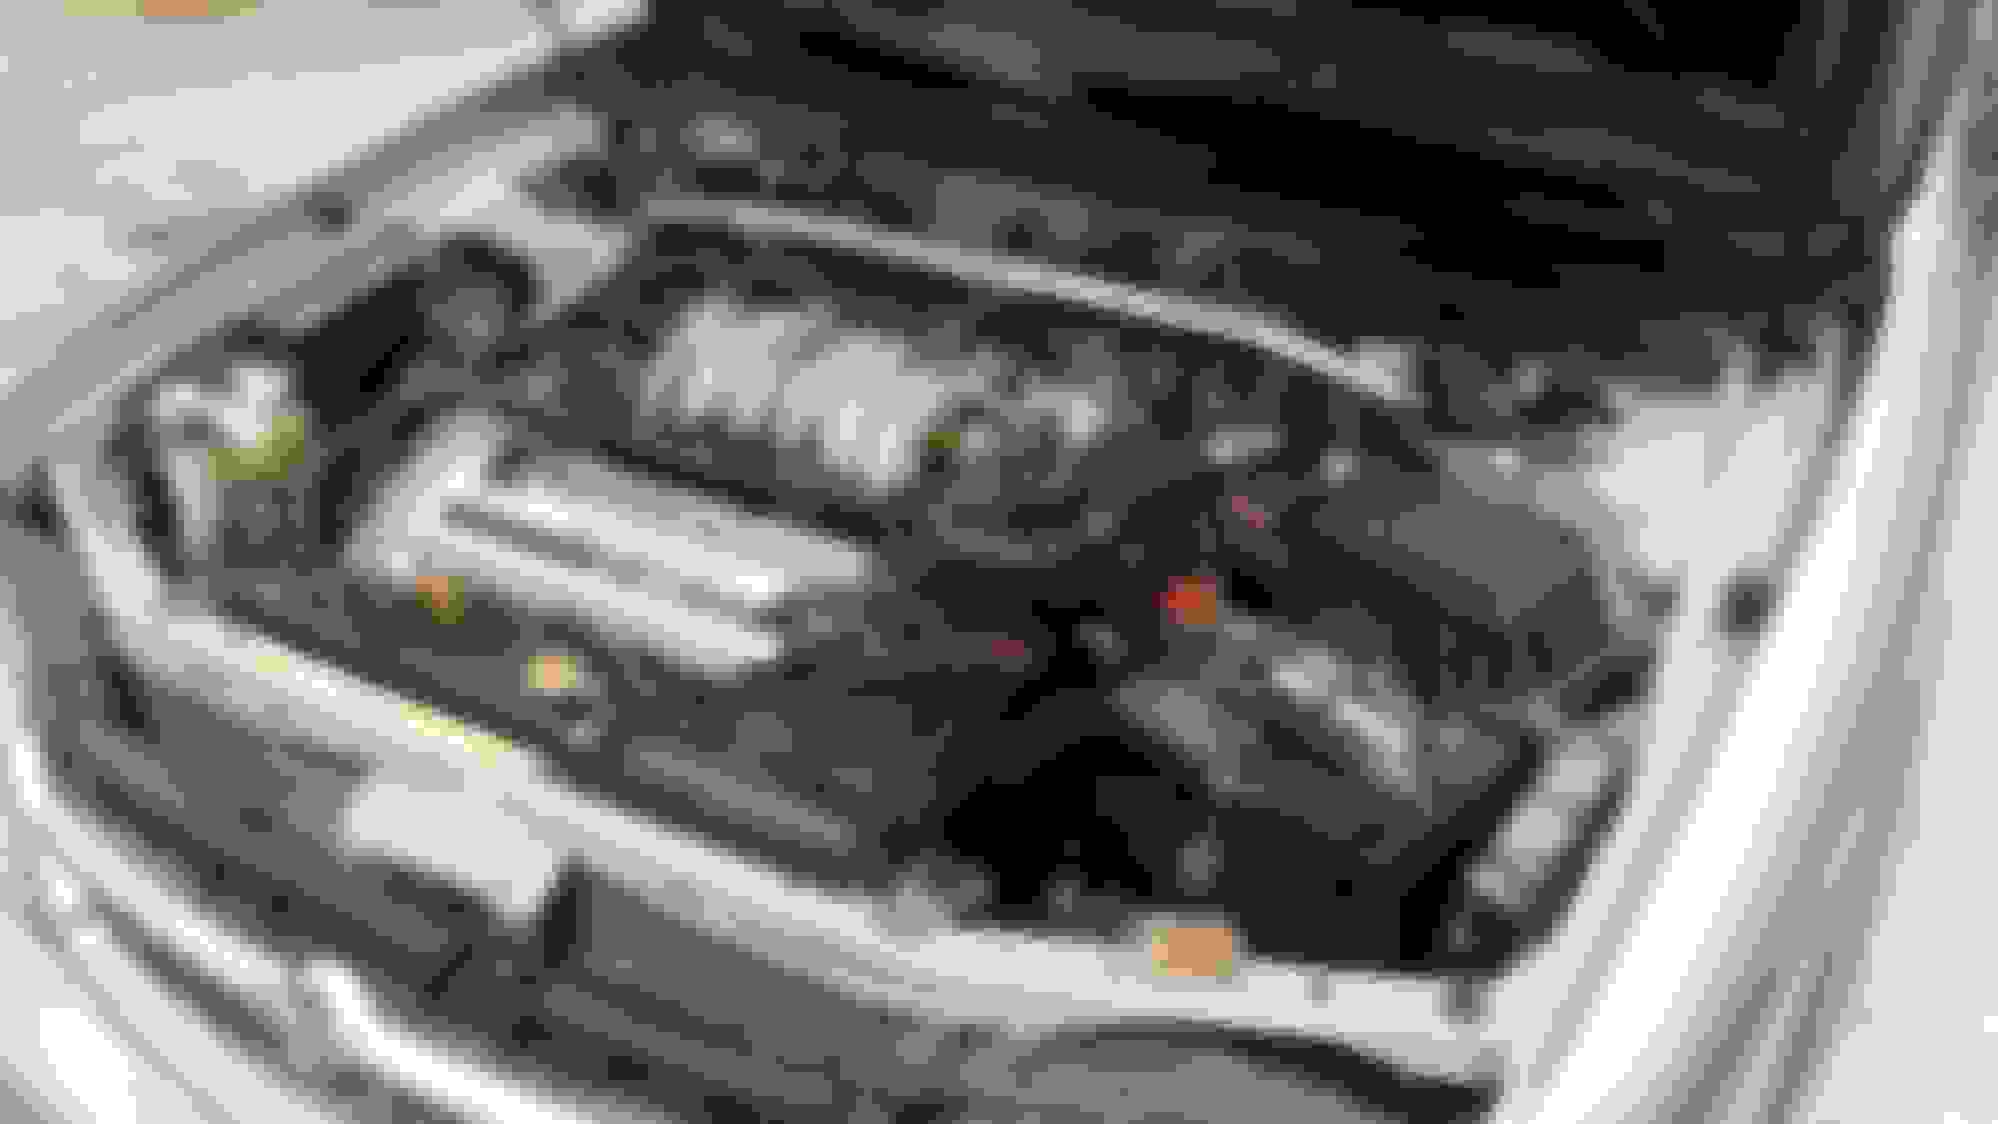
00VI with Summit Racing RPM switch
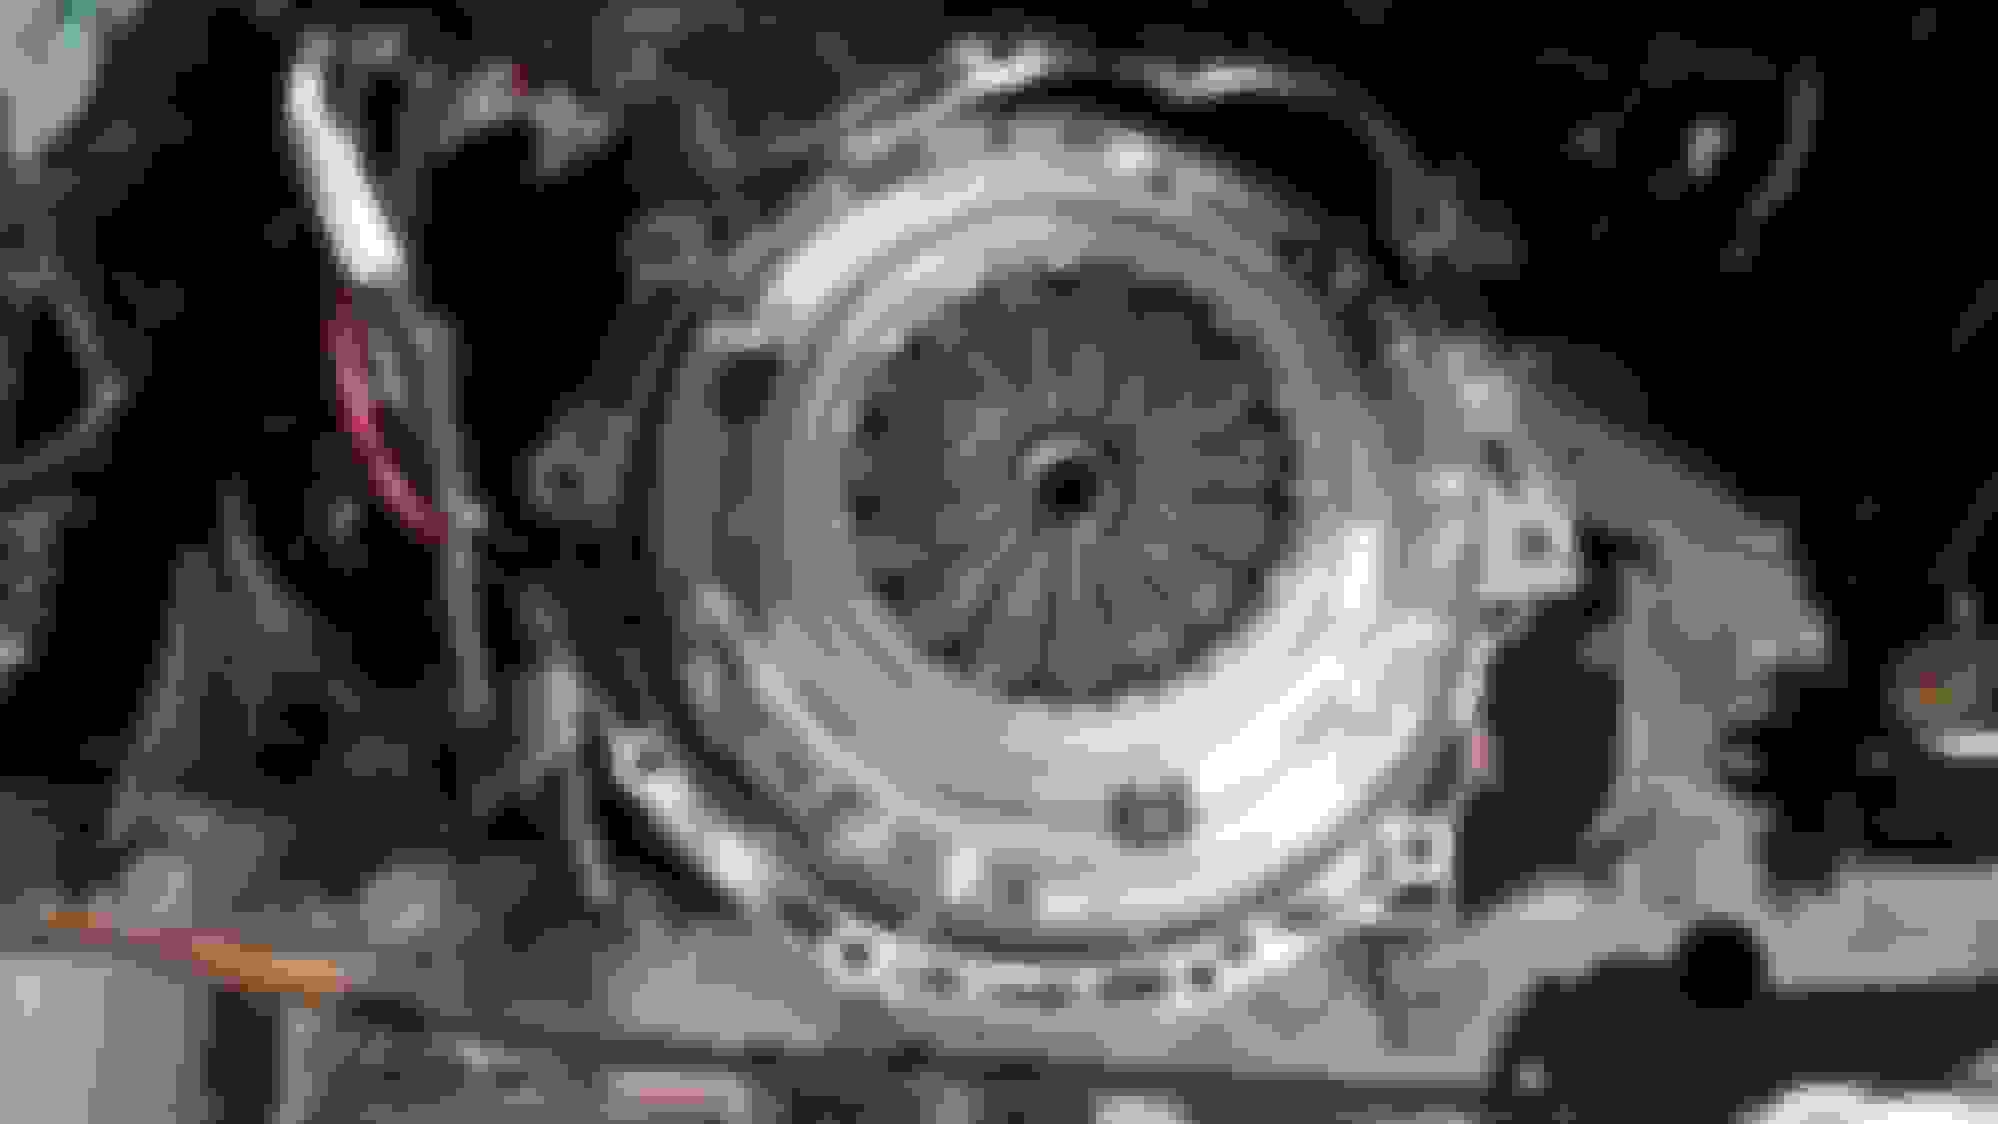
Stillen Vortech V-1 supercharger, (3.6" pulley, basic FMU setup)
Walbro 255 fuel pump
Adjustable fuel pressure regulator (modified stock) with gauge
Energy Suspension engine mounts
Stillen pop charger
Cattman intake mid pipe
Unorthodox Racing UDP
35mm wheel spacers
Clear bumper lights
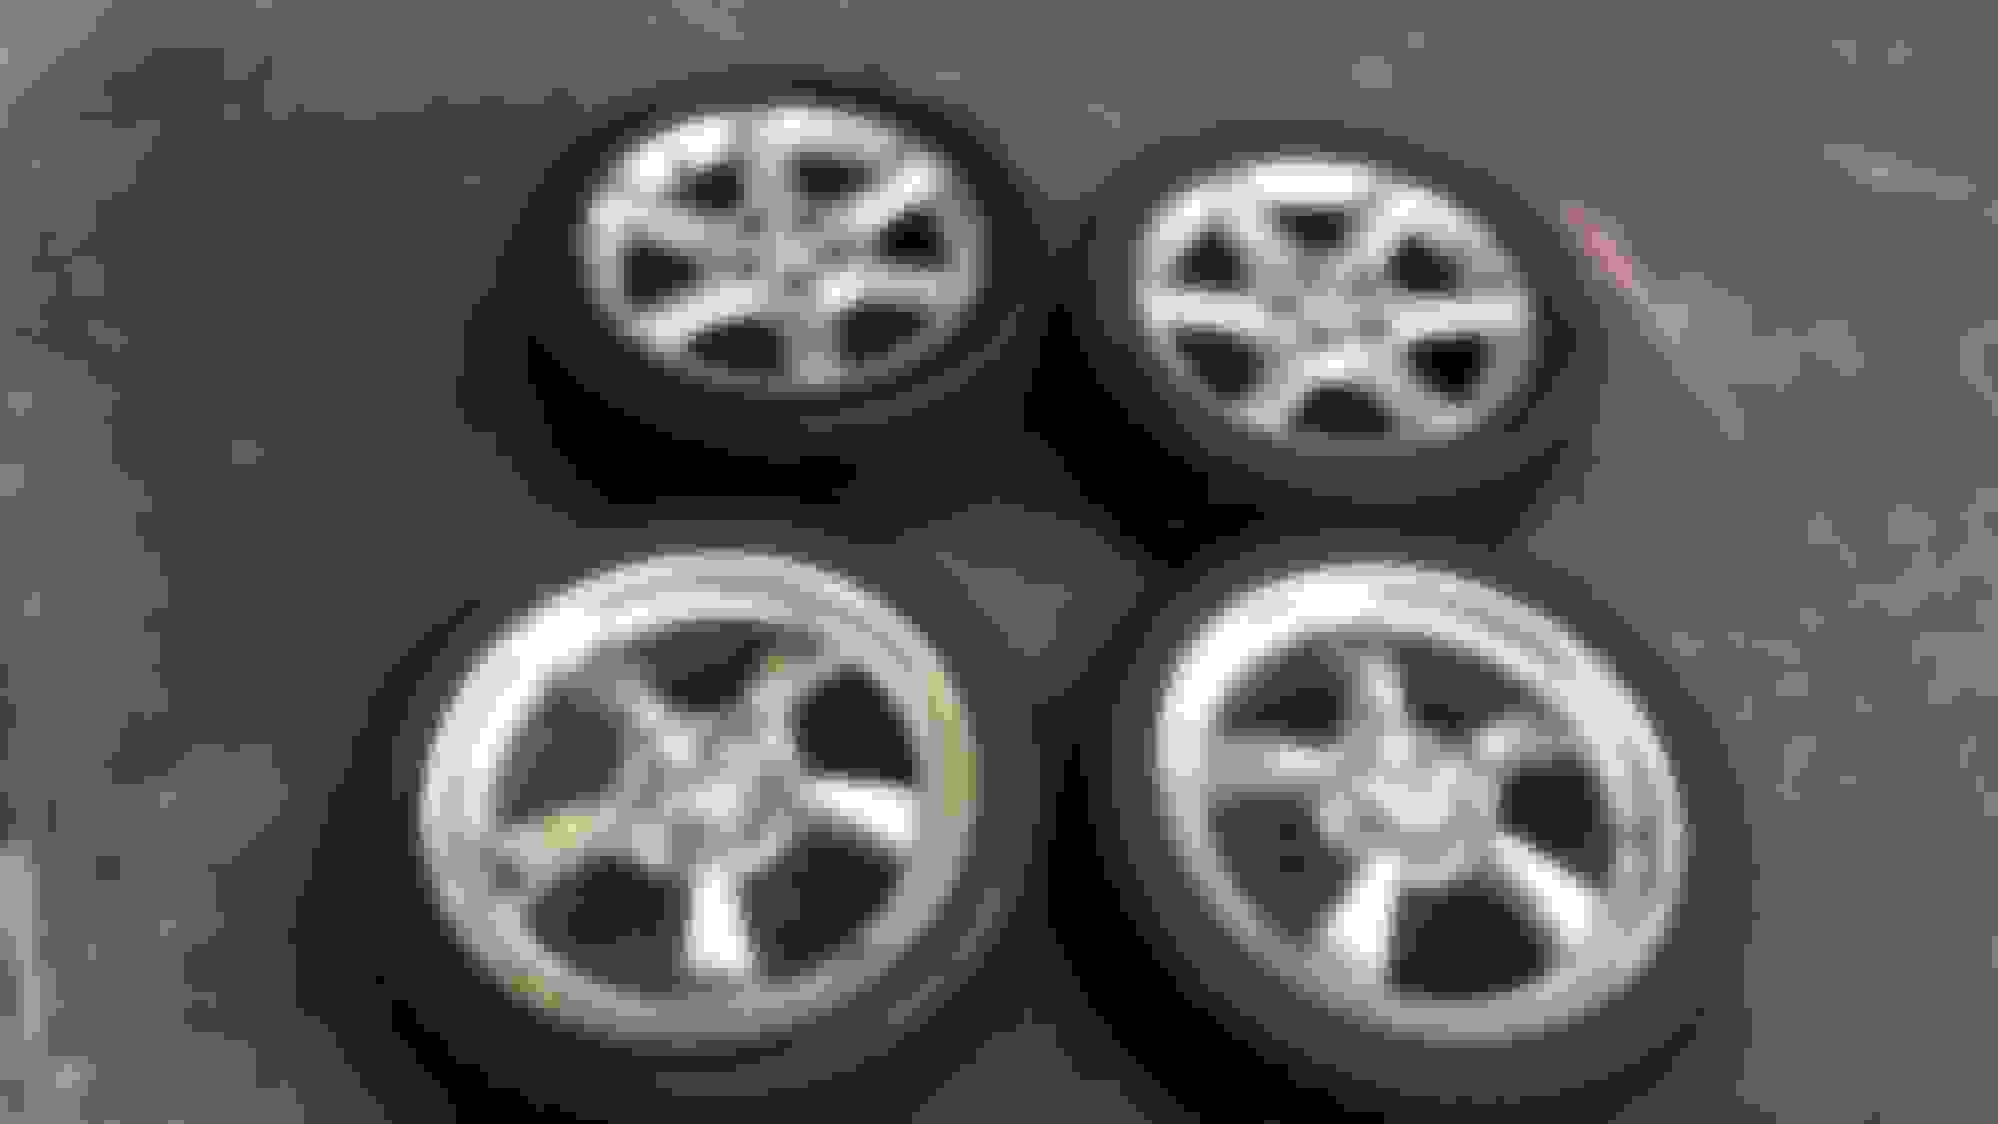
2002 SE 17", Continental DWS 235/45R17
2004 G35x 17", Cooper RS3-S 215/55R17
Alpine CDA-9811
This is going to take awhile to fill in all the blanks. From rust repair to the SC install, I'll be sharing plenty of pictures.
Parts I have in the garage, not sure what's getting installed:
Warpspeed stage 1 and 2 sub frame connectors (SFC)
Super Pro trailing arm bushings
ES control arm bushings
Cattman gen 3 headers
Cattman B pipe
Stillen B pipe
Dynomax muffler
Pacesetter front pre cat
Evan Fischer Y pipe
Custom Enterprise Type 2 spoiler
3.25" pulley & 8:1 FMU kit
Saw ad for car, messaged seller for more pics. Car was clean and nearly all stock. Owner added a stereo and tint. Dealer serviced. Cheap money and perfect timing. I purchased it just before my Altima got totaled in a car accident.
I couldn't wait to bolt on some parts, forgot to take more stock pic's. Some under hood parts and interior parts installed before I even cleaned it. Strut bar and oil cap, 15 hp gain. Shift ****, pedals, boots, gauge rings, seats...
Take note of all those rusty bits. They go away I promise. Driver's seat needed some welding Pan cracked
Everything was fine but I stupidly painted the reflector! Ehh, let's try that again.... Aftermarket red clears. I stole the turn signal lens. Stock tails done right. Aluminum lasts forever. That's a lie, but longer than the stock garbage. Still like then 5.5 gens 245/40R18 vs 235/45R17 Need to paint lip G35x 17\"
Looking good just like when i had my sterling mist, heres a jewel you know what rattle can is basically an exact match? Its the stainless steel paint by duplicolor the one with the steering wheel. Perfect match for sterling mist.
Some other random fixes, mods, whatever. Most likely you no care.
Removed satellite radio
Shim door hinge
Swapped yellow caps in engine bay
Replaced cracked radio bezel
Removed Metra stereo install crap
Cut parking light wire at clock
Replaced blown dash lights
Swapped steering wheel
Replaced power antenna mast
Replaced sway bar end links
Cleaned seized trunk lock cylendar
Filled chips in windshield
Replaced sparkplugs
Replaced battery
Replaced jack tools
Cleaned EGR
Replaced fuel filter
Clean IACV
Added upper LATCH anchor for baby seat
Replaced leaking caliper (warranty)
Replaced battery (warranty)
Trunk LED light
Repaired B pipe to muffler flanges
Replaced battery terminals
Trunk cargo net
Infiniti first aid kit
Removed swirl valve hard lines and vacuum tank
Added a rear cup holder
Looking good just like when i had my sterling mist, heres a jewel you know what rattle can is basically an exact match? Its the stainless steel paint by duplicolor the one with the steering wheel. Perfect match for sterling mist.
Now you tell me! I'll buy a can next time I see one.
dang dude! utterly amazing !! big props to you ! great work, looking fantastic and clean. hows the supercharger reconditioning?
I went through every nut and bolt, short of rebuilding the unit itself (some day that will get done too, along with a smaller pulley and change the disk in the FMU). I cleaned, painted, and rebuilt everything possible. All the hoses got replaced.
Originally Posted by Zack342
Definitely enjoyed that trip down memory lane. SE-L with ABS?
You have some sweet parts on there.
I went back to the 4th gen front valve cover. I made some little adapters to secure the 4th gen rear coil packs. I had to grind coils 3 and 5 to fit. Before none of my coils were bolted in.
I installed bigger fittings for the IACV to 1/2 NPT 3/4" hose barb. Had to drill and tap the back of the 00VI. Starts and idles no problem now.
Woah, that's a whole lot of work! That SC looks great in there, must be a blast to drive. The core support repair looks great too, very nice job on that. I've also got some of that rust behind the rear wheels near the sunroof drain hose that I'm planning on tackling sometime soon. I hope I don't have to cut and weld, but we'll see. Did you do one side or both?
It is not a blast quiet yet. I am trying to figure out why it detonates under boost. Last fall it drove fine, yet felt very choked by the completely stock exhaust. It is not much of a priority right now, though I will get sorted.
I only repaired one side of the rear rust. The right side was so bad I put my finger through it. The left side needs work. I scraped, sprayed rust reformer, and painted it for now. No holes yet. I try not to drive in the rain (definitely not in snow) so it should not get any worse for some time. I patched my 98 with body panel adhesive which lasted pretty good considering how little work it took.
Installed a phone holder. I love keeping this car a blast from the past. I bought the mount for my truck back in 2012! I had to bend the mount slightly, it's nearly a perfect fit.
PanaVise PortaGrip 15575
PanaVise dash mount (Pathfinder 75131-108) Probably can't find these anymore.
I put the stock bumper lights back. I think it looks better this way.
Is anything preventing you from driving it, or is it more of a lack of places to go? My I30 has barely moved in the last 6 months since it only has summer tires while the other car has snows.
A few different reasons. Stay at home dad, pandemic, and it's our 3rd vehicle, summer car if you will. I didn't bother getting it inspected last year either.
A few different reasons. Stay at home dad, pandemic, and it's our 3rd vehicle, summer car if you will. I didn't bother getting it inspected last year either.
I have been driving it much more lately however.
Mines back on jack stands 🤷🏽♂️ more power to ya!
I don't wanna ruin the tires it's on by sitting in the garage as I perform the world's slowest wheel bearing replacement.
(My goal is to be slow enough to swap alternators, install ac compressor and put on headers over the next month).
These brackets are great if you can find them. They work way better than universal vent, suction, or cup holder mounts. I got lucky this one fit.
Originally Posted by aackshun
Mines back on jack stands 🤷🏽♂️ more power to ya!
I don't wanna ruin the tires it's on by sitting in the garage as I perform the world's slowest wheel bearing replacement.
(My goal is to be slow enough to swap alternators, install ac compressor and put on headers over the next month).
Square tires are fun.
Any tips on the wheel bearing install or is that just a joke? I did it many moons ago with a pneumatic press. I want to freshen up the front end with bearings, ball joints, and bushings. After I replace a pile of parts on my truck (rad, condenser, VC's, etc) I want to pick up a hydraulic press. There is a nice one on CL but don't really want to stuff it into our SUV.
Exhaust work is my least favorite. I'm way too lazy to get into that even though I have all the parts. Speaking of parts, I went to the dealer for my truck. The condenser fits nicely in the trunk.
Any tips on the wheel bearing install or is that just a joke? I did it many moons ago with a pneumatic press....
I'll find out. I'm gonna try to use this portable wheel hub kit I got from HF, I'll update my thread with my findings.
Exhaust work is my least favorite. I'm way too lazy to get into that even though I have all the parts. Speaking of parts, I went to the dealer for my truck. The condenser fits nicely in the trunk.
It's fun! I take my car to the shop drop it off and come back with exhaust done 🤣
This repair is beautiful, can you provide a quick rundown of how your made the replacement panel? What did you use to cut those nice curves? I'm about to tackle the same repair in my car, but it's my first time doing body work and could use all the tips you could provide. Is that all new metal, or did you cut out the original metal and then patch it up off the car? Did you stitch weld it all back on? How did you make those perfect bends in it?
This repair is beautiful, can you provide a quick rundown of how your made the replacement panel? What did you use to cut those nice curves? I'm about to tackle the same repair in my car, but it's my first time doing body work and could use all the tips you could provide. Is that all new metal, or did you cut out the original metal and then patch it up off the car? Did you stitch weld it all back on? How did you make those perfect bends in it?
I have a good amount of (mostly basic) hand and air tools. Die grinders, cut off wheels, flap wheels, wire wheels on a drill, that sort of thing.... whatever fit where I was working. I would highly recommend a body saw and Small belt sander which I don't have.
I used new sheet metal, 18? or 22? gauge cut with tin snips or hand sheers. I bent it with my vice and a hammer. Lots of trial and error to get a good fit. After you cut out the rust make a paper template to help shape the new piece.
It's mostly stitch welds, a tack or two in random spots around the patch until solid, sometimes a rosette weld to mimic the factory spot welds, grind till pretty, then a bit of body filler.
What's your opinion of how rust starts in this area? Does it start from the visible area, or the hidden back side? Does salt and debris get trapped around the drain tube grommet, and spread from there? My car doesn't have a sunroof, yet still has that drain tube there. Do you know if it's used for anything else?
 04-30-2020, 08:46 PM